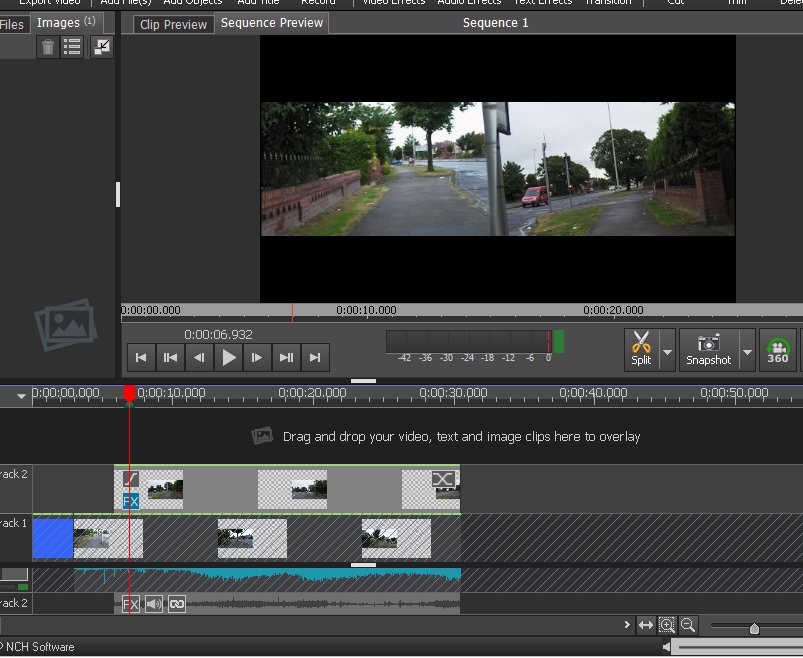
The split-screen effect may not be what you want, as only a half frame of each camera will be shown side-by-side.
If any track moves when it should not, immediately click <ctrl-Z> (UNDO). Then disable the track that moved by clicking its lock to the left of the track.
If audio isn't to be affected when setting up the video sync, right-click on its track and UNLINK FROM VIDEO.
Import the first set of clips to the media bin. Place the cursor (the red line) at the far left.
Right-click the clip that you want on the right and PLACE ON TIMELINE.
Right-click the clip that you want on the left (the overlay) and OVERLAY AT CURSOR. Only track two will be seen in timeline preview, as it overlays track one.
Click the FX button on the track 2 clip. The effects window opens.
Click the large green + sign at the top left and click the MOTION effect.
With the preview window tab toggled to TIMELINE mode (not clip mode), move the SCALE slider in the effects window to 51%. Move the HORIZONTAL slider to -24%. The full image on track 2 should be visible in the left half of the frame.
Click the FX button on the track 1 clip. Click the green +, then MOTION. Again, toggle the preview tab to TIMELINE mode. Move the SCALE slider to 51%. Move the HORIZONTAL slider to 24%. The full image on track one should now be immediately to the right of the image on track 2. Of course, since the full images have been reduced in size and positioned, they will no longer be full screen.
Then, if necessary, drag the track that is early to the right, so it syncs up with the other track. This is easier and more precise if the timeline is expanded (stretched) using the horizontal slider at the bottom-right of the main window. If the track snaps back when moved, hold down <alt> while dragging. If the other track moves or splits, UNDO, then LOCK it. (An alternative to dragging might be to apply a speed effect, as Nat suggested.)
When done with the pair of clips, trim the ends so they match up. Lock those tracks so they're not affected by the next steps, though they likely won't be.
Input the next set of clips to the media bin.
Drag the cursor to the end of tracks one and two. Right-click on the clip that is to be on the right and OVERLAY AT CURSOR.
Right-click the clip that is to appear on the left and OVERLAY AT CURSOR. Then apply the same FX settings and procedures to that pair as described above.
With the cursor positioned just above the END of tracks 3 and 4, the third pair of clips can be overlaid in similar fashion to tracks 5 and 6. And so forth...